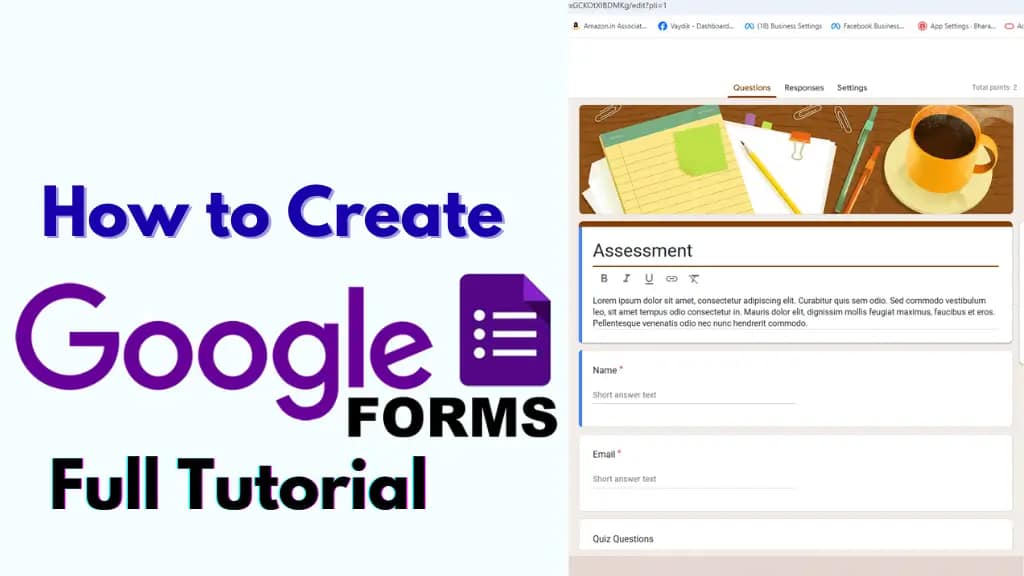
How to Create Google Forms | Full Tutorial in Bengali with English Guide
Google Forms is one of the most powerful and user-friendly tools offered by Google. Whether you’re creating a feedback form, survey, quiz, registration form, or event RSVP, Google Forms makes it incredibly easy — and completely free.
In this article, we’ll walk you through how to create a Google Form, how to share it, how to publish it, and how to link it to Google Sheets, based on the full Bengali-language video tutorial available on our YouTube channel Rajuch27.
Watch the full video tutorial in Bengali:
Step-by-Step Guide to Creating a Google Form
1. Open Google Forms
To begin, go to https://forms.google.com.
You’ll need to sign in with your Google account.
Alternatively, from your Google Drive:
- Click New → More → Google Forms
2. Choose a Blank Form or a Template
You can either:
- Start with a blank form
- Or choose from pre-made templates (like event registration, RSVP, etc.)
3. Add Title & Description
Give your form a name and description.
Example:
- Title: Student Feedback Form
- Description: Please provide your honest feedback.
4. Add Questions
Click the plus (+) button on the right toolbar to add a new question.
- Google Forms supports:
- Short answer
- Paragraph
- Multiple choice
- Checkboxes
- Dropdown
- File upload
- Date/time, etc.
Tips:
- Use the Required toggle to make a question mandatory.
- Use the Duplicate option to copy a similar question format.
5. Customize Your Form
Click the Palette icon (top-right) to:
- Change color theme
- Add a header image
- Adjust font style
How to Share or Publish the Form
Once your form is ready, it’s time to share or publish it.
1. Click the Send button (top right).
You’ll see three main sharing options:
- Email: Send directly to someone’s Gmail.
- Link: Copy a shareable URL to paste anywhere (WhatsApp, Telegram, website).
- Embed HTML: Copy embed code for websites/blogs.
Shorten URL: Tick this option for a shorter shareable link.
Pro Tip: If you want to publish the form on your blog or WordPress site, use the Embed HTML code inside an
Connect Google Forms to Google Sheets
To automatically collect and view responses in a spreadsheet:
Step 1: Go to the “Responses” tab
Click on the green Sheets icon
This will:
- Create a new Google Sheet
- Automatically update with new responses
This is especially useful for:
- Data analysis
- Sorting responses
- Creating charts from responses
- Backing up responses
Bonus Tips: Settings & Controls
Click on the gear icon (Settings) on top-right:
General Settings:
- Collect email addresses
- Limit to 1 response per user
- Allow editing after submission
- Show summary charts
Presentation:
- Show progress bar
- Shuffle question order
- Show confirmation message (customizable)
Quizzes:
Turn your form into a quiz by enabling this tab, and assign points to each question.
Real Use Cases of Google Forms
- Event registration (puja events, classes, seminars)
- Admission or application forms
- Customer feedback
- Product order forms (connect to Google Sheets + Apps Script)
- Online quizzes for students
Bengali Video Tutorial – Watch Now!
If you prefer a step-by-step visual tutorial in Bengali, we’ve got you covered!
Useful Links
Google Forms: https://forms.google.com
Google Drive: https://drive.google.com
Google Sheets: https://sheets.google.com
Final Words
Google Forms is a free and powerful way to collect responses online. With its integration with Google Sheets and customizable sharing options, it’s perfect for both beginners and professionals.
If you found this article helpful, don’t forget to like and share the video, and subscribe to the Rajuch27 channel for more tech tutorials in Bengali.
Read More: IMF Approves $1 Billion Loan Tranche for Pakistan Amid Heightened Tensions with India


